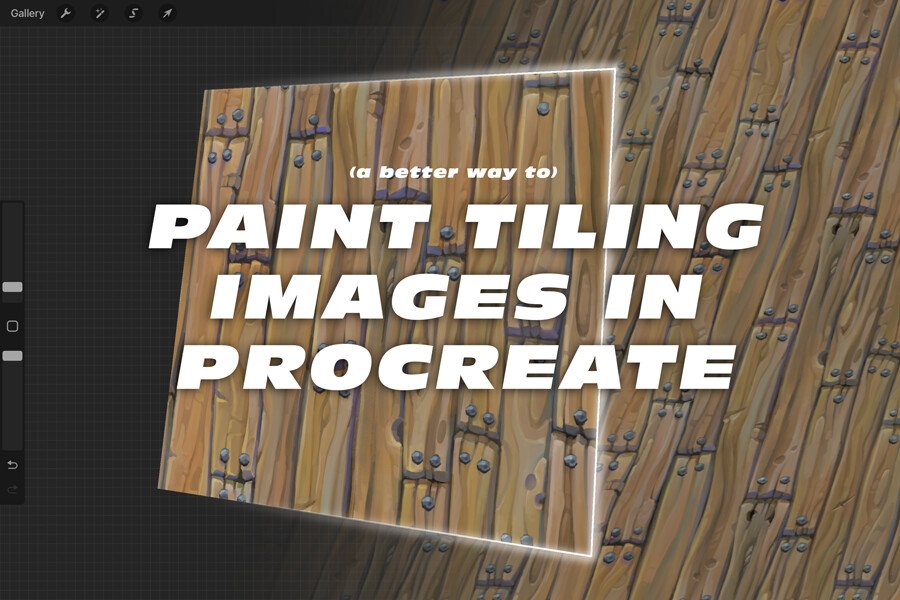
Paint Tiling Textures in Procreate
Perhaps you‘re like me and you like the idea of painting textures from the comfort of your iPad, and perhaps you got as far as looking into it and finding Procreate doesn’t have a tiling/offset feature and the only workarounds people have wrote guides about are some convoluted method of duplicating layers, moving, and snapping them to a precise spot. I think we can all agree that is a shitty solution and no one should put themselves through that.
I’ve got a better solution, and one that I haven’t seen talked about, so I figured I’d write up a guide here.
THE GOAL
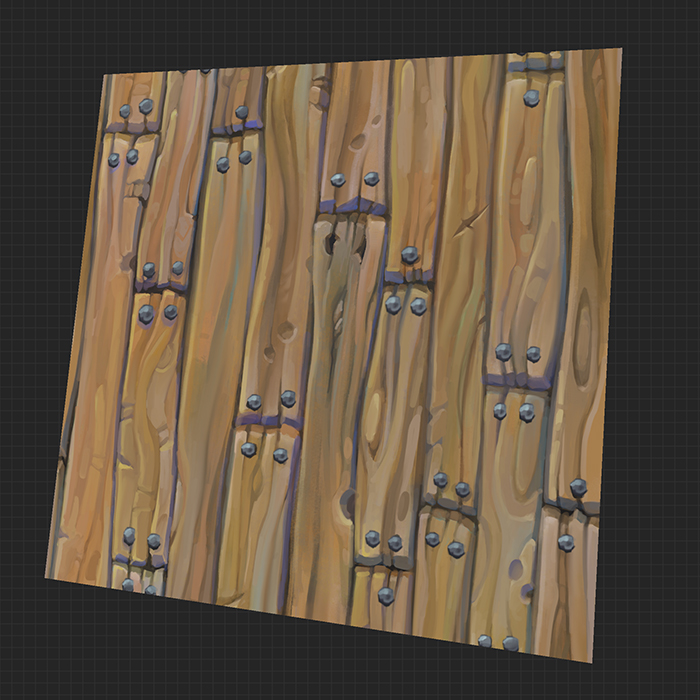
What we are gonna do is paint an image that can seamlessly tile by using Procreate’s 3D painting mode. By painting on a piece of geo with a special UV setup, we can alternate between the 3D and 2D view to get an image offset effect (you might be used to this method to make seamless textures in Photoshop).
GEOMETRY AS A CANVAS
First we need a piece of geo to use as our canvas. Use your favourite modelling software to create a simple plane (size or orientation shouldn’t matter), divided into four sections, and it will be the UVs that create an offset image. I’m using Maya here, and what you want to do is set up the UVs like so (the centre of the image will now be split and offset to the corners):

It’s important to be precise and make sure the UVs are exactly taking up the 0-1 space and the points are all aligned to the grid. We need to do this firstly because Procreate doesn’t allow overlapping or out of bounds UVs, and also because any gaps between shells would cause seams.
Export the object as either an .obj or .usd (these are the only two supported formats) and put it somewhere the iPad can find it (I use Google Drive).
PROCREATE
Import or try opening the model file with Procreate and it should prompt you to make a new 3D project. You’ll now see your plane in a 3D environment with fancy real-time rendering. It’s worth noting that you can also paint PBR metal and roughness maps, but I’m just focusing on painting a colour diffuse map here.
The most important thing to know now is how to switch between 2D and 3D mode. I kinda wish there was a better shortcut for this, but if you go the actions menu (the spanner) and go the ’3D’ sub menu, you get a toggle for the 2D view. You’ve got a bit of a decision to make as to which will be your main view to work in, maybe for some reason you prefer painting in 3D, but I would suggest the 2D mode as you are seeing the raw image with no other colour adjustments on top of it (more on that later). I’ve also found a few limitations with some tools that don’t work in the 3D view, e.g. the liquify tool. Moving forward, think of the 2D view as your base image, and the 3D view as the “offset” image.

Painting in 2D is just regular Procreate painting, but to actually make things seamless you’re gonna have to switch to the 3D view as you approach edges of the document. This workflow involves a bit of back and forth, but it’s still so much easier than trying to make something tile after painting it. I also want to mention how great this feels compared to any other 3D painting software, it’s super impressive to me that it feels identical to painting in regular Procreate.
Now, about the 3D view lighting. It gets in the way. I don’t know why there isn’t a basic unlit viewport option, but there isn’t and instead they force the fancy PBR lighting on you and all you can do is choose from a selection of reflection maps and edit the scene lights. This is annoying because there are at least another two levels of colour influence coming in on your original image. You’ll really notice when switching between the 2D and 3D view.
I can only suggest editing the environment and trying your best to minimise that difference in colour. Here’s what works for me: set the environment to the “Savage” preset, delete any scene lights (by tapping on those cubes) and dial up the exposure to ~150%. It’s not perfect, but it’s close enough to work with.

To export your masterpiece, under the actions menu > Share > Share Texture and it will export a folder containing a .png of your painting labeled “-Colour”.
This should be all you need to know to get a good experience painting nice, seamlessly tiling images. I would love to see a few more features make their way into the 3D side of Procreate, because honestly I could see it replacing 3D Coat for me when it comes to hand painting textures.